[vc_row][vc_column][vc_tta_tabs][vc_tta_section title=”General” tab_id=”1472485665381-cbccff56-c8c4″][vc_column_text css_animation=”left-to-right”]
  |
Ralf |
| TEAM IKARI |
General
Contributors: Grimulus (Primer) Prince Thabet (Strategy & Combos) Nathaniel Miller (additional combos), Gunsmith (added combo vids)
Players to watch out for: Myu, Joe, Grimulus
Best Position: Any
Best Tool: Stand D
Misc: Has special music when fighting Clark
Primer
This introduction to Ralf is designed to help new, and interested, players understand some of his more useful options. The aim here is to strip this walking Tank down to his most basic components, to give a better insight in to the uncomplicated chaos that is his play style and to shed some light as to the most effective use of his tools.
Do you like punching stuff? Then you’re in the right place!
General Overview
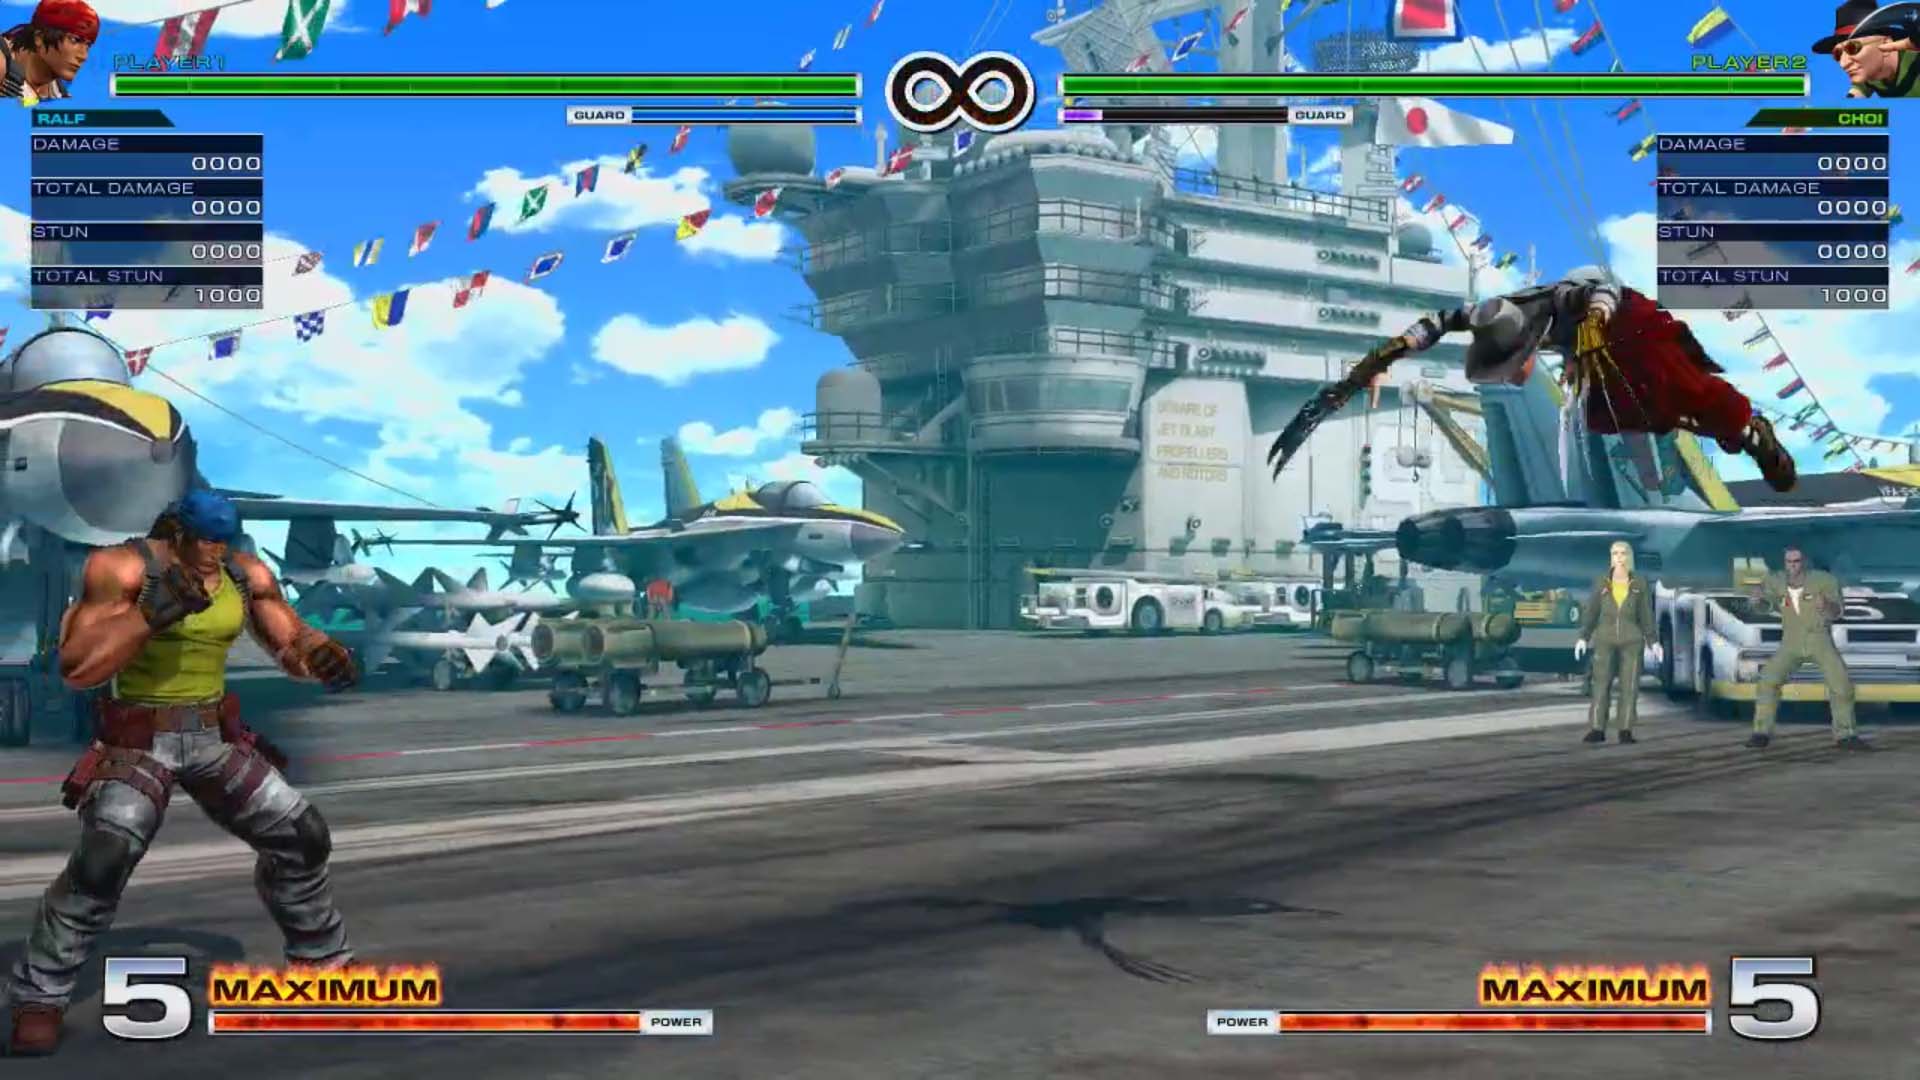
Ralf Jones, the second highest ranking member in Team Ikari, below the legendary Heidern, has a play style that suits his personality: fiery, reckless and bold. He is quite literally a walking tank, a powerhouse that can always be seen on the front lines of battle – punching stuff in the face, for great justice!
A natural headache for zoning characters, he is great at reducing the opponent’s playing area to just a corner of the game screen, and is also a master at whiff punishing. Ralf’s no nonsense style may be simple, but it is incredibly efficient!
He is very versatile, and can be played in any position on the team, but Ralf excels when in possession of meter and can deal reliable and hefty damage to every character on the roster. Due to this fact, Ralf is a great candidate for entry level players. His most used combos are easy, but very effective, and you won’t find a character that relies more on a fundamental game of footsies than Mr Jones.


Ralf, just like a tank, is at his best either going forwards or holding a line. He relies on raw force to attain his objective, finding situations that he can’t punch his way out of to be boring and pointless. Thankfully he has this covered!
Button Overview
This hot headed soldier is more than happy when bullying an opponent into not pressing buttons, for fear of his terrifying Standing Far D connecting. That fear can lead to an over reliance on blocking, which is exactly what Ralf wants! He can operate, quite comfortably, from just outside of most characters normal attack range but is also at home up close and personal where special moves like his Gatling Attack come into play.
In the air, Ralf can be quite intimidating. His Jump CD carries a lot of priority, once active, and can easily challenge the majority of the cast in airborne confrontations using the same buttons. Jump D has a great angle of attack (covering more ? than ?) and is great for low jumping on crouching opponents, while his Jump C provides a wall of muscle in the air. the hit box for this button doesn’t extend very far, but it covers all three important angles (?? and ?).
Ralf’s other useful air attack is Jump A. It shares many similarities with Clark’s, although the active frames don’t last as long. The hit box is most active in the lower diagonal (? and?) making it a good button for short hops. it doesn’t provide as much hit stun as Clark’s either, but is still very useful.
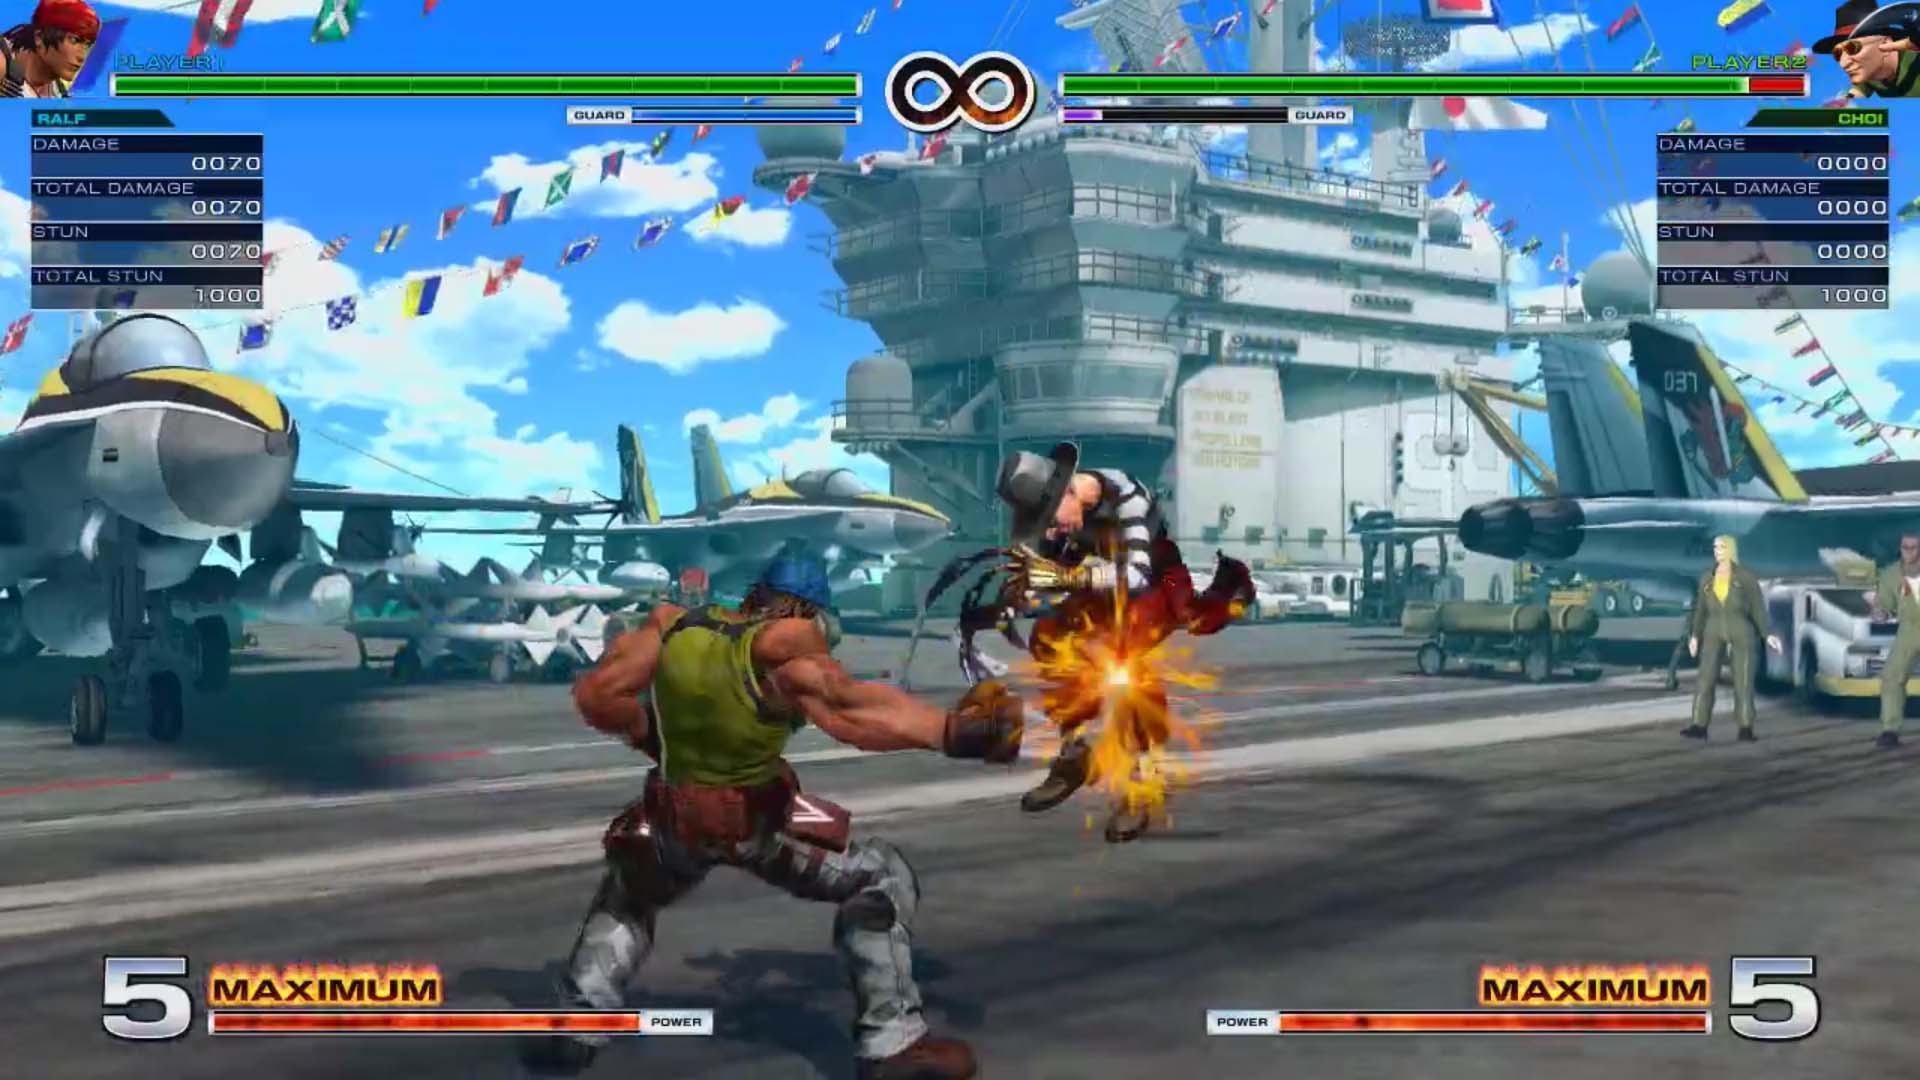
Far Standing D. Is easily Ralf’s most useful tool, and should be used whenever you get the chance! It is relatively quick, although not as fast as Iori’s version of the same move, has phenomenal range and can be cancelled into a raw super, or a Max Mode combo for silly amounts of damage.
This move alone, when used correctly, is the ruin of many a zoning character because of its ability to stop projectiles before they happen, often stuffing moves in their start up frames. The long range and quick execution also makes this button the perfect choice for whiff punishing and beginning your counter attack.


Far Standing C. Like his best buddy Clark, Ralf’s stand C will miss when used on most normal sized opponents who are crouching. It works very well however on ‘big body’ characters like Maxima, Chang, King of Dinosaurs, Daimon, Xanadu, Antonov and Verse, as they will be forced to consider it as a threat.
However, unlike Clark, pressing this button will see Ralf move backwards every time he uses it. This isn’t a huge problem, if you’re planning on converting a successful hit into a Max Mode combo, but worth thinking about if you plan to run in after using it as you’ll be slightly further away than you anticipate.
This button also, like Clark’s, can also be used as a full screen anti air, stopping the auto pilot large jump that most players use to cover ground, making opponents think twice about advancing in that way.


Down C. While this has more start up frames than Clark’s version of the same move, it has a ton more active priority. Once it’s out there, there isn’t much that can challenge it. It can sometimes be used as an anti-air, but is most commonly used as a defensive poke as its whiff punish properties aren’t the best.
Jet Upper (Down Forward, A) This command normal has uses, other than adding hit stun to combos. Much like Clark’s Far D, it can also be used as a pre-emptive anti air, often stopping early close jump ins, close neutral jumps and jumps which have a high arc.
Special Move Overview
Dive Bomber Punch (Jump – Quarter Circle Forward. A or C) This move is great for punishing those who aren’t paying attention to the beating you’re giving them. It has an overhead property, can be used at almost any point in his jump arc and can also be done after either A, C or CD connects when he is in the air. The EX version adds some invincibility.
Ralf Impact (Reverse DP, A or C) If you were looking for a way to finish off that pesky guard meter, then this is how you do it. This is literally Ralf’s Tank Buster punch, as it obliterates guard meter, with no other move in his arsenal dealing as much meter damage. The C version provides enough stun on unblocked hit, to follow up for big damage. The EX version is quicker, and adds a wall bounce on successful hit, placing his opponents within range for a continued battering!


Gatling Attack (Half Circle Forward, A, or C) The A version is more versatile than the C version, having less start up frames, safety on block, more priority and the option to easily be cancelled into Ralf’s Galactica Phantom super move. The C version is also good, under the right circumstances, but has the major drawback of being incredibly unsafe on block. The EX version adds more hits, and damage, but can only really be used as a combo ender because you can’t do anything after it.
Vulcan Punch (A or C repeatedly) While not particularly useful as a stand alone move, as it is too slow to use as an anti air, or reliable reversal, it proves it’s worth when used as a part of a combo. This easily utilised move provides you with ample time, on successful hit to cancel into a damaging super move.
Ralf Kick (Half Circle Back B or D) Is likely the move Ralf will use the least. The B version is quite risky when used close, because it has a ton of recovery on block but, when correctly spaced, is a great tool for closing gaps while maintaining a large offensive hit box– especially against characters who use ground based projectiles such as Terry, Iori, Rock and Geese. The D version is a dummy of the B version, with Ralf doing a slow and low jump. This can, however, be turned into a sneaky Dive Bomber Punch just to make sure your opponent is still listening to the sound of defeat.


Dynamite Ralf Punch (Quarter Circle Back A, or C) Is Ralf’s main line of defence. It is an anti-air, but must be used in a way that’s different to a DP. The seemingly long start up frames, and odd hit box, create some considerations that need to be taken into account.
Because the Dynamite Punch has such a long start up, it offers no protection when done too late as an anti-air. It helps to imagine this move as a mushroom cloud explosion, starting small and moving up from the ground to extend upwards and outwards from Ralf’s body.
The A button version produces a smaller, quicker, explosion which is ideal for combos in the corner. The C button version produces a larger, but slower explosion and EX version is as quick as the A version, but has C’s hit box.


For best results, Ralf Dynamite should be used mid way through your opponent’s jump ark. Only experience, however, can tell you when each would be best in any given situation.
Using Ralf’s move set is very straight forward, with both normals and specials made for very specific purposes. At first glance, they seem very basic but, like all of the characters in XIV, they have unique applications and, with a bit of imagination, can be effective in almost any situation.
Hopefully this primer has answered some of the questions that might arise when using Ralf but, as you can imagine, this is just the tip of the iceberg with many more strategies and combos waiting to be discovered!
[/vc_column_text][/vc_tta_section][vc_tta_section title=”Combos” tab_id=”1472486048860-5106ef61-98af”][vc_column_text]
Best Combos
cl.D df.A -> df.A will whiff on block, but not on hit (in my testing)
cl.D df.A MAX cl.D df.A is honestly always his best starter after MAX. He does more damage without the CD.
1 bar anywhere: cl.D/cr.B df.A MAX cl.D df.A hcb.BD s.A/C(x4)/hcf.C
1 bar corner (Easy w/reset): cl.D/cr.B df.A MAX cl.D df.A hcb.KK s.A (rdp.C)
1 bar corner (Hard): cl.D/cr.B df.A MAX cl.D df.A hcb.KK s.AC(x4) hcf.C
2 bar anywhere (Easy): cl.D/cr.B df.A MAX cl.D df.A hcb.KK Bareback Vulkan Punch
2 bar anywhere (Medium): cl.D/cr.B df.A MAX cl.D df.A hcb.KK s.A/C(x4) Bareback Vulkan Punch
Overall his combos are short and simple, but they do real man damage.
-Cr.b, cl.B or cl.D into df.A hcf+C, cancel into Galactica for damage (hold for a bit)
-Cl.D df.A MAX cl.D df.A EX ralf kick Into Hcf+C, either super or Climax
-Cl.D df.A MAX cl.D df.A EX Impact EX ralf kick into Hcf+C, either super or climax
• Corner:
-Cl.D df.A MAX Cl.D EX Ralf kick Rapid punch, either super or Climax
-Cl.D df.A MAX cl.D df.A EX impact EX Ralf kick EX rapid punch > rapid punch xx Super or Climax
-Cl.D df.A MAX CD A ralf impact s.A EX ralf kick qcb+A into either super or Climax
Videos
[/vc_column_text][/vc_tta_section][vc_tta_section title=”Strategy” tab_id=”1472486066550-28f45fd8-879d”][vc_column_text]
Strategy
- His s.D is pretty much is 98 s.C.
- His feint Ralf Kick can be cancelled into dive bomb!
- Ralf is best on point
Ralf is a walking tank, a hard hitter that excels in mid range and up-close, but unlike the heavier cast he has decent mobility.
He’s equipped with some of the best normals in the game, tools to get in, fight against zoning and for pressure.
His gameplan has changed compared to XIII as he was all about getting close enough to pressure with his crazy + on block gut punch that he can link off of.
Now his strongest spot is mid range where he can bully you with his superior normals or start his hop pressure.
His main issues are his hit confirms and that his mixups are pretty straight forward now (RIP argentina backbreaker)
His best spot is point imo but can now be a good second thanks to the EX Ralf impact buff. Put him second if you want the extra meter and longer MAX mode duration, but he hits like a fuckin truck with 1 or 2 bars so it’s not a neccesity.
For combos, Ralf got hit hard due to the extra universal pushback where df.A will whiff after 2 hits leaving you open. His close C is now 1 hit only as well and doesn’t connect to df.A so close D and close B are your main go-to options (cl.D df.A will whiff on block as well..).
Extra:
-EX dive has a bit of invincibility.
-Ending the match with his Climax is by far the coolest way to win.
[/vc_column_text][/vc_tta_section][vc_tta_section title=”Frame Data” tab_id=”1472500493939-897035b7-1286″][vc_column_text]
Frame Data
[/vc_column_text][/vc_tta_section][/vc_tta_tabs][/vc_column][/vc_row]